
Last updated November 20, 2026
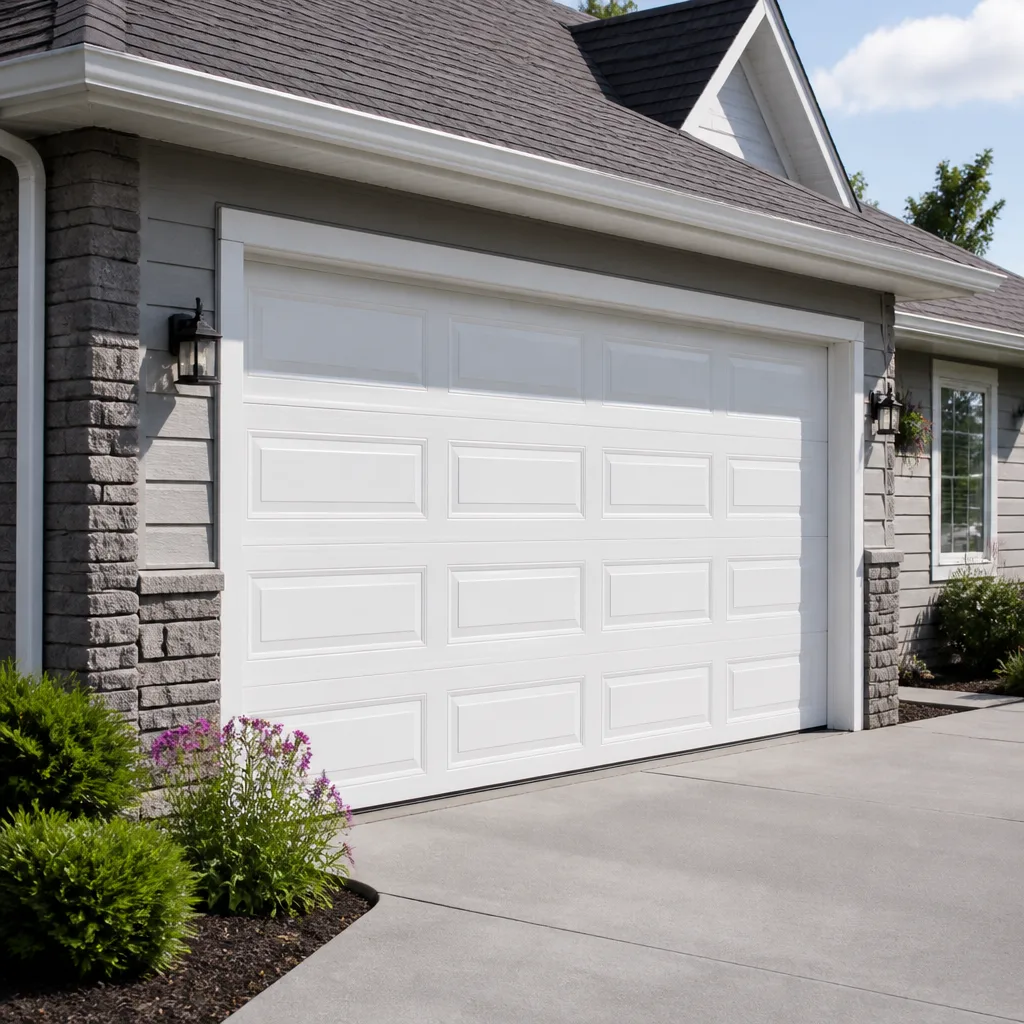 Raised-panel steel
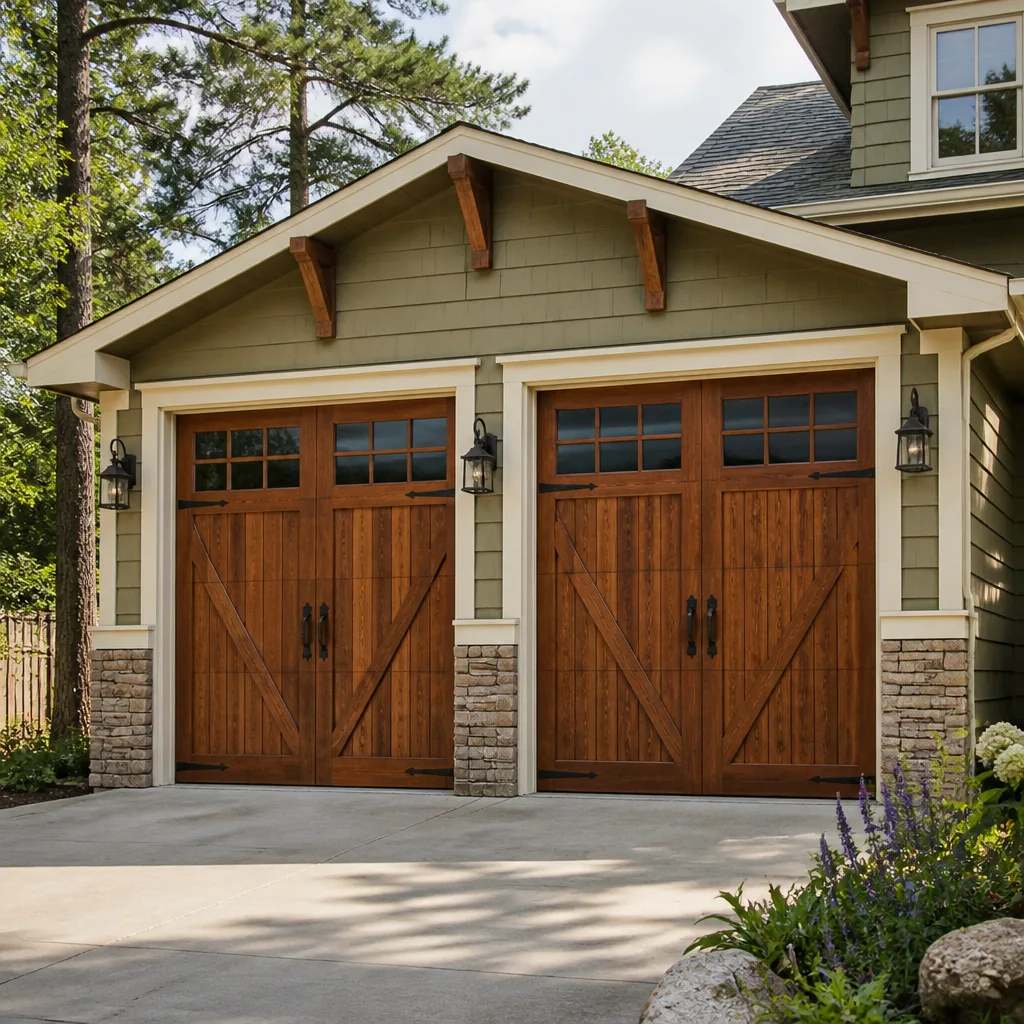 Carriage house
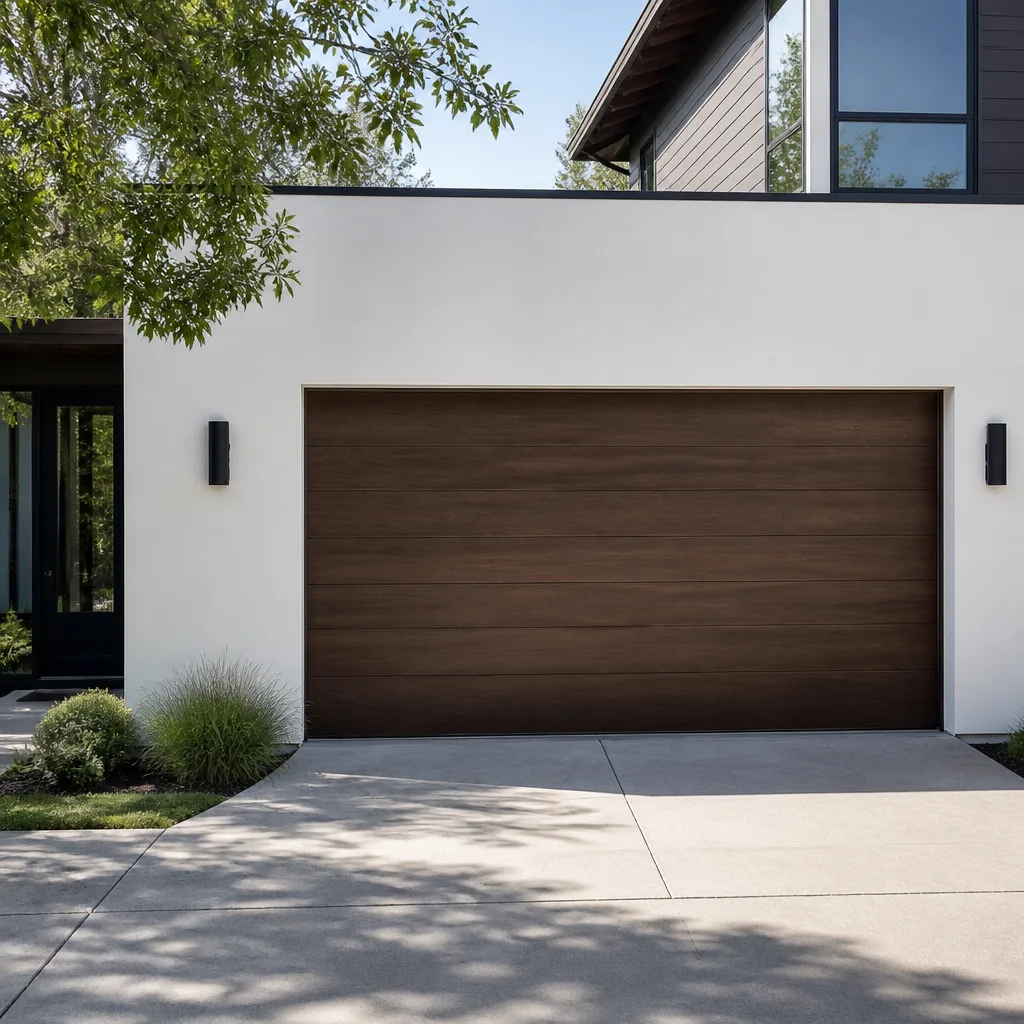 Modern flush
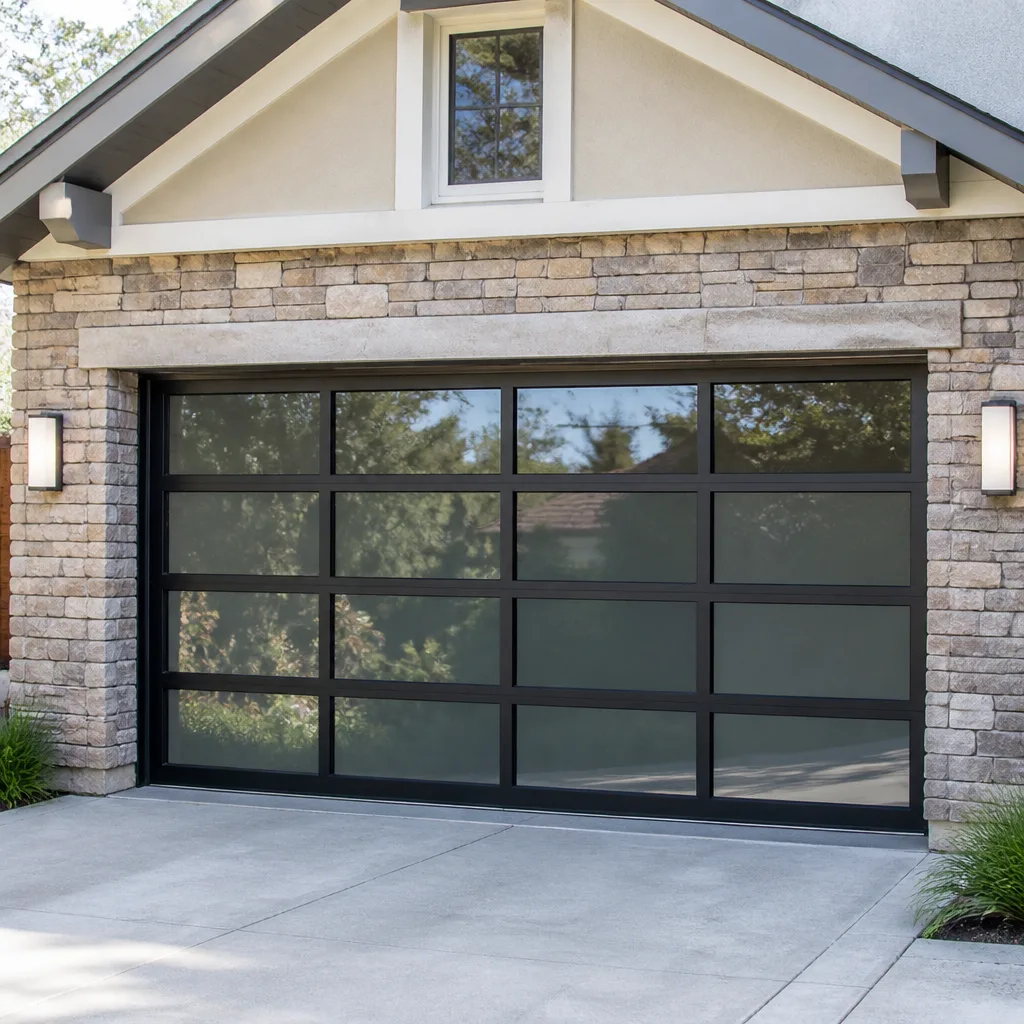 Full-view glass
 LiftMaster openers
 Chamberlain openers
Full 25-point door and opener safety check with every visit - springs, cables, rollers, tracks, and your LiftMaster or Chamberlain opener included
You get a price before we start. It does not change when the pro arrives.
Get your free estimateGarage Door Repair Maintenance Checklist for Daytona Beach Homeowners
Most maintenance checklists floating around the internet were written for a climate that doesn’t exist here. They tell you to lubricate hinges twice a year and call it done. But the leading cause of premature spring failure in Daytona Beach isn’t cycle count, it’s corrosion that starts quietly on hardware and gets worse every month someone sprays the wrong product on it. A can of general-purpose penetrant can actually speed that process up instead of slowing it down. This guide walks through a checklist built for the humidity, heat, and storm season we actually live with in Daytona Beach. You’ll learn which tasks need quarterly attention, which lubricant chemistry protects your hardware, how to inspect torsion springs for rust pitting versus harmless surface oxidation, how to check your bottom seal for water intrusion, and how to log your service history before you list a home for sale.
Quick Answer
Your Daytona Beach garage door maintenance checklist should run quarterly rather than twice a year, focus on correct lubricant chemistry (never a solvent-based penetrant like WD-40 on springs or hinges), include a torsion spring inspection for rust pitting, and add a bottom seal compression check for storm-water intrusion that most standard checklists skip. The spring and cable work itself is high-tension and dangerous, so inspection stays visual and repair goes to a trained technician. If anything looks wrong, garage door repair is a phone call away and estimates are free.
Styles & brands we work with
- Raised-panel steel
- Carriage house
- Modern flush
- Full-view glass
- LiftMaster openers
- Chamberlain openers
Table of Contents
- Why the Standard Twice-a-Year Schedule Is Wrong for Daytona Beach
- The Lubricant Chemistry That Actually Protects Coastal Hardware
- How to Inspect Torsion Springs for Rust Pitting
- Testing Your Bottom Seal for Storm-Water Intrusion
- Quarterly vs. Annual: Which Tasks Need More Attention Here
- Opener and Safety-Reverse Checks You Can Do Yourself
- What You Should Never Adjust Yourself
- A Printable Task Log for Your Service History
Why the Standard Twice-a-Year Schedule Is Wrong for Daytona Beach
The advice you’ll find on most manufacturer sites assumes a mild, dry climate with four gentle seasons. Daytona Beach doesn’t work that way. Humidity here runs high for most of the year, salt-laden air moves inland on the afternoon breeze, and the temperature swings between a cool winter morning and a warm winter afternoon are enough to work metal hardware back and forth at its fasteners. That combination means the lubrication interval everyone else uses is usually too long, and the inspection interval is definitely too long.
What actually wears out first on a Daytona Beach garage door isn’t the amount of open-and-close cycles. It’s the corrosion clock. Springs, hinges, rollers, and the bottom brackets are all steel. Steel in humid, salty air oxidizes faster than steel in dry air, and the problem compounds because oxidation creates tiny pits that hold moisture against the metal. Once pitting starts on a torsion spring, the spring’s cross-section changes and its fatigue life drops.
Here’s the practical difference for a Daytona Beach homeowner:
- Standard schedule: lubricate twice a year, inspect annually, replace springs when they break.
- Daytona Beach schedule: light lubrication quarterly, full inspection every six months, spring replacement the moment pitting reaches the point where the spring loses thickness.
That alone doesn’t cover everything. Doors near the Halifax River or in older neighborhoods with more open vegetation tend to see atmospheric moisture pulled in faster. Doors on inland streets like LPGA Boulevard see more heat cycling than wind. The interval stays the same, but the inspector should look harder at the fasteners and the spring’s coil ends on those doors. Once you’re on the quarterly rhythm, the annual inspection becomes a confirmation rather than a discovery. That’s the whole point: you want to catch the problem before it catches you.
The Lubricant Chemistry That Actually Protects Coastal Hardware
This is the section most checklists get wrong. A general-purpose penetrant is a solvent carrier with a light oil that flashes off quickly. It loosens rusted parts, which is why people reach for it, but it isn’t a lubricant in any lasting sense. On Daytona Beach hardware, spraying a solvent penetrant onto a hinge or a torsion spring actually does two bad things: it strips whatever protective film was there, and it displaces the moisture that should sit away from the metal, leaving the steel clean and exposed to the humid air. Homeowners who “lubricate” their springs every month with a penetrant are often accelerating the corrosion they’re trying to prevent.
The right product is a garage-door-rated lubricant that stays put: a lithium- or silicone-based spray, or a purpose-made door lubricant with a low-solvent formula. It stays on the part, it holds its viscosity across the temperature range we get here, and it doesn’t attract grit the way heavy grease does.
Here’s the product breakdown for a Daytona Beach door:
- Torsion springs and extension springs: a garage-door-rated lubricant, applied sparingly, wiped into the coils and allowed to sit. Not a solvent penetrant.
- Hinges: a garage-door lubricant at each pivot point; a light spray, worked in by opening and closing the door once.
- Rollers: lubricant on steel rollers only, never on nylon rollers, which are designed to run dry. Rollers that make noise after lubrication usually need replacement, not more spray.
- Track: never lubricated. A dry track is a quiet track; lubricant in the track captures grit and gets packed into the roller path.
- Weather seals: a silicone spray, applied sparingly, keeps the seal pliable and slows cracking.
Craftsman and Genie openers often come with nylon or metal roller combinations that behave differently; if you’re not sure which rollers you have, look for the color of the wheel hub before you spray. Newer Clopay and Amarr doors typically ship with nylon rollers and need less lubrication than older steel-roller doors. If you’re not sure what to apply or where, a professional can walk the whole door with you and hand you the right product in minutes; our technicians have up to 13 years of experience doing exactly that.
How to Inspect Torsion Springs for Rust Pitting
A visual spring inspection is the most valuable thing you can do on a quarterly schedule, and it takes about a minute. It’s also where homeowners get confused, because not every spot means trouble. Surface oxidation is normal. Rust pitting means the spring is heading toward failure. Being able to tell the difference is the whole skill.
Run the inspection in this order:
- Turn on the light and stand outside the door. Look up at the torsion bar, mounted above the door. You’ll see one or two coils depending on the door. Extension spring doors will have two springs running along the horizontal tracks instead.
- Look at the coil ends and the mounting brackets first. These are the highest-stress points. Any visible flaking, orange crust, or a coil that has visibly narrowed at one end is a warning.
- Check the middle of the coils for pitting. Pitting looks like tiny dark pinpricks or speckled pockmarks in the metal surface, sometimes with a powdery red-brown edge. Surface oxidation, by contrast, is a light uniform rust-colored blush that wipes off onto a rag and doesn’t leave a crater behind.
- Run a dry finger along the underside of the coil at a few points. A spring that feels smooth with a fine surface haze is fine. One that catches your finger on a rough spot or a divot has pitting.
- Look for a visible gap in a coil. A torsion spring that has developed a visible gap between coils at one end, or a door that sits out of level when closed, means the spring has let go or is about to. Stop and call a professional.
Daytona Beach spring failures we see most often start at the coil ends and the mounting cones, because that’s where the steel is under the most load and where moisture tends to collect. Regular inspection catches that progress months before the spring breaks.
Never try to adjust or unload a torsion spring yourself. The tension in a wound torsion spring is enough to cause serious injury with a fraction of a turn. This is one of the parts where the professional call isn’t a luxury, it’s the correct safety choice. If your inspection turns up pitting, garage door spring repair is usually scheduled the same day and the price is agreed in writing before any work starts.
Testing Your Bottom Seal for Storm-Water Intrusion
The bottom seal is the rubber or vinyl strip on the bottom edge of the door where it meets the floor. It’s the part most checklists forget entirely, and in Daytona Beach it’s the part that does the most work during a heavy summer rain. A seal that hasn’t been tested is a seal you don’t know is working, and a failed seal lets water wick into the door panel, the floor transition, and the wall framing on either side of the door opening.
Here’s the test. It takes about ten minutes and you’ll need a flashlight and a sheet of paper.
- Set the door in the closed position and look at the seal from the inside of the garage. You want to see a continuous contact line against the floor from one side to the other.
- Slide a piece of paper under the seal at several points across the width of the door. The paper should be pinched when you pull it. If it slides out easily at any point, the seal isn’t compressing there.
- Look for daylight. With the outside light blocked, a thin line of daylight under the door is a direct hit for storm-water entry.
- Walk the full length of the seal with a flashlight from one inch away. Look for cracks, flat spots, splits at the ends, and gaps between the seal and the door panel. Cracks in the rubber are where water gets in.
- Check the corners and the threshold where the door meets the floor at each side. These corners are the first to show wear because the seal has to bend there.
If the seal fails the paper test at multiple points, it needs to be replaced. That’s a straightforward job on most doors and worth doing before storm season. If the threshold has a visible low spot or standing water in the track area, that’s a foundation and drainage question and not something a garage-door technician addresses. In either case, a trained technician can tell you which problem you have in about five minutes.
Quarterly vs. Annual: Which Tasks Need More Attention Here
Not every task needs to run on the same clock. Here’s how we split the list for Daytona Beach conditions:
Quarterly tasks (every three months):
- Visual spring inspection for pitting, gaps, and coil-end thinning
- Lubrication of hinges, rollers (steel only), and spring coils with a garage-door-rated lubricant
- Bottom seal inspection and paper-compression test
- Fastener tightening check on hinges and brackets (light pass with a screwdriver, not a wrench)
- Visual warning for any new rust spots on the door panel or hardware
Every six months:
- Full door balance test: with the door halfway up, it should hold position when you let go with light resistance. A door that drifts down on its own means spring tension has lost its setting.
- Track alignment check: look down the length of the vertical tracks with one eye. A visible bend or kink means rollers are scraping.
- Roller condition check: any roller that has lost its round, or that makes a steady grinding sound on the way up, is due for replacement.
Annual tasks:
- Safety-reverse test on the opener (details below)
- Photo-eye alignment and lens cleanliness
- Full inspection of the door panel for cracks, dents, or moisture damage
- Review of your service log for anything the door has complained about during the year
If you’re a landlord or property manager running multiple Daytona Beach units, the quarterly rhythm is worth enforcing. Water intrusion on a rental door usually shows up as a complaint from a tenant after it’s been happening for a month, and a five-minute check on each quarterly visit prevents a much bigger repair later.
Opener and Safety-Reverse Checks You Can Do Yourself
Opener maintenance is mostly observational. You don’t need to open the housing. LiftMaster, Chamberlain, Genie, and Craftsman openers all share the same basic checks, and Wayne Dalton and Raynor openers follow the same pattern.
Run these checks monthly or quarterly:
- Safety-reverse test (photo-eye). With the door fully open, wave your leg or a box through the black photo-eye sensor beam at the bottom of the door frame. The door should not begin to close, or, if it’s closing, should reverse immediately. If it doesn’t, check that both sensors are lit and pointing at each other, clean any dust off the lenses, and re-test. A sensor with one dead light needs replacement.
- Contact-reverse test (mechanical). Place a roll of paper towels or a folded towel under the center of the closed door and press close. The door should contact the object and reverse within a moment. If it pushes down hard before reversing, the down-limit or force setting needs adjustment.
- Limit switch check. The door should fully close so that the bottom seal makes contact with the floor without crushing flat, and fully open so that the top panel sits level with the header. A door that stops short, or that clunks hard at the top, needs a limit adjustment.
- Battery back-up check on openers that have one. Test the unit with the power off to confirm the battery still holds the door for a couple of cycles. Battery life in Daytona Beach heat tends to run short of the manufacturer’s estimate.
- Remote and wall-button function. A remote that works only from very close may just need a battery. One that works from the street but not from the kitchen may indicate an antenna or logic board issue.
If a safety-reverse test fails and the obvious fixes don’t bring it back, stop using the door and call for garage door opener repair. A door that won’t reverse is the number-one cause of the worst injuries involving garage doors, and it’s not something to defer.
What You Should Never Adjust Yourself
The garage door is one of the few home systems where a wrong adjustment can actually hurt someone. Here’s what stays with a trained technician, and why:
- Torsion springs and extension springs. Under tension, torsion springs hold a load that can seriously injure anyone who tries to unwind or rewind them without the correct winding bars and training. Extension springs can release stored energy in an instant if a safety cable fails. Inspection stays visual; repair stays professional.
- Cables and drums. The lift cables are under the same load as the springs, and the drums they wrap around can spin loose. Replacing a cable is a two-person job even for a pro.
- The bottom bracket. This bracket is what the cable attaches to at the bottom of the door, and it’s under full spring tension at all times. It has to be treated with the same caution as the springs themselves.
- Opener force and limit settings. Adjusting the force past the manufacturer’s setting can defeat the contact-reverse safety system. It’s a five-second adjustment that should happen once, correctly, with a technician testing both reversals afterward.
- Track brackets after an impact. A door that’s been bumped and no longer sits in the track looks like an easy fix but is usually a sign that the panels or the torsion system have been stressed. Have it looked at before you run the opener.
Safe inspection steps are the ones above: look, feel, listen, and test with the opener disconnected from the door. Safe repair steps start with a phone call.
A Printable Task Log for Your Service History
Keep a paper log taped inside the garage door frame or in a kitchen drawer. Here’s the format we recommend, and it takes about two minutes per entry:
- Date of inspection or service
- Task completed (lubrication, spring inspection, seal test, safety-reverse test, opener service)
- Observations (any rust pitting seen, any seal cracking, any noise or lag noticed)
- Parts replaced (roller count, spring pair, seal strip, opener component)
- Technician or company who performed the work
- Cost and written estimate on file
Two things make this log worth keeping. First, when the door eventually needs a repair, you’ll know exactly which parts have already been replaced and when, which saves the technician diagnostic time and usually saves you money. Second, if you’re planning to sell your Daytona Beach home, a documented maintenance history is a selling point. A buyer’s inspector will check the garage door, and a log showing quarterly inspection and dated repairs is a much stronger answer than “it’s been fine.”
Digital logs work fine too. A scanned PDF of the maintenance history, or a folder of written estimates, does the same job. The point is that the history exists and can be shown.
Common Mistakes to Avoid
- Lubricating the track. The track is meant to be dry. Any lubricant you spray in there captures grit and gets packed into the roller path within a week, which is how a quiet door becomes a grinding one. Wipe the track clean, don’t grease it.
- Using a solvent penetrant on springs and hinges. A general-purpose penetrant strips protective film and leaves steel exposed to Daytona Beach humidity. Use a garage-door-rated lubricant or silicone spray instead.
- Skipping the bottom seal check. It’s the only part of the door actually tested against storm-water intrusion, and most checklists don’t mention it. Test with a paper slip every quarter.
- Forcing a door that won’t close. If the door balks going down, the cause is almost always spring tension, a broken cable, or a limit switch. Pushing through it usually bends a panel and turns a small repair into a bigger one.
- Adjusting the opener force setting to hide a problem. Turning up the force to get a stiff door to close defeats the contact-reverse system. It’s a safety system, not a performance dial.
- Waiting for a broken spring before replacing pitted springs. Once a torsion spring has visible pitting, its remaining life is short and unpredictable. Replacing it at the first sign is much cheaper than replacing it after it drops the door.
- Not documenting service. A door that’s been neglected looks exactly like one that’s been cared for, until a buyer’s inspector asks for history. Keep the log.
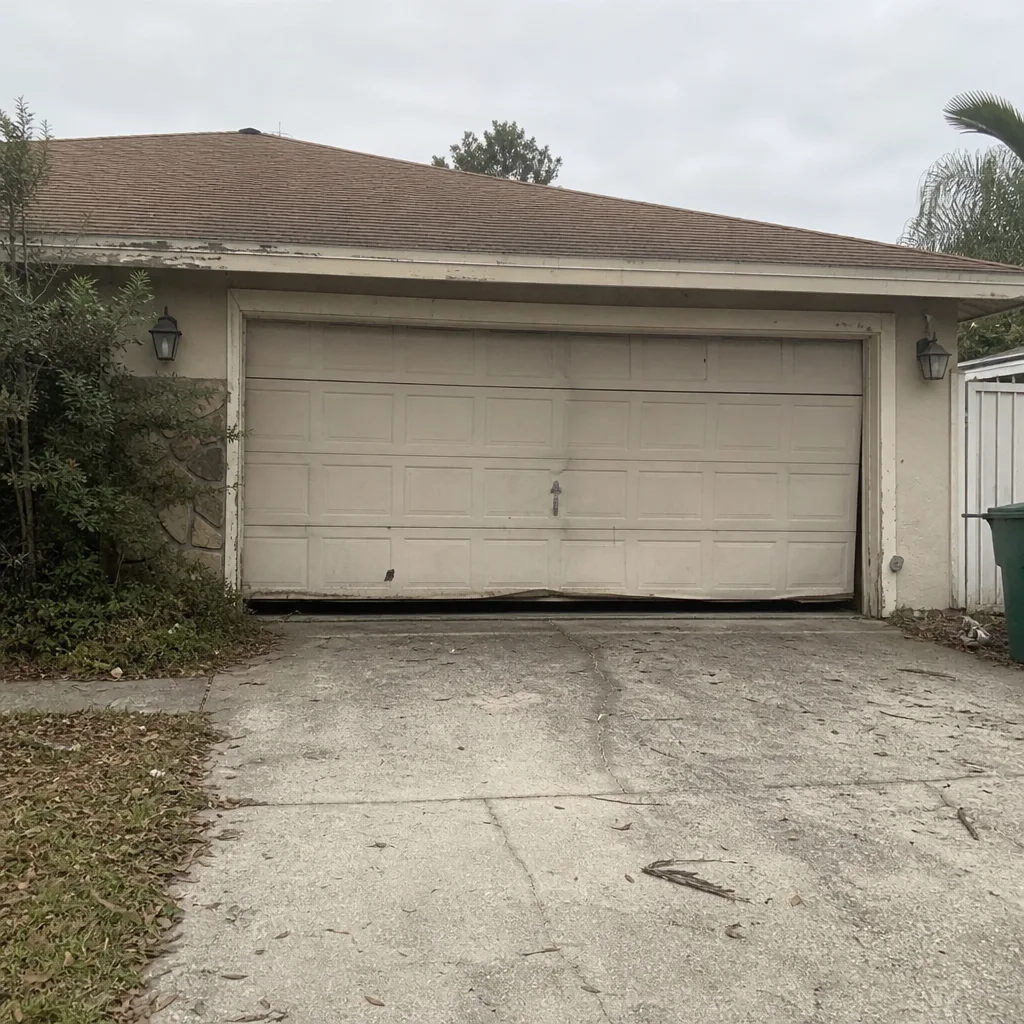
See the difference
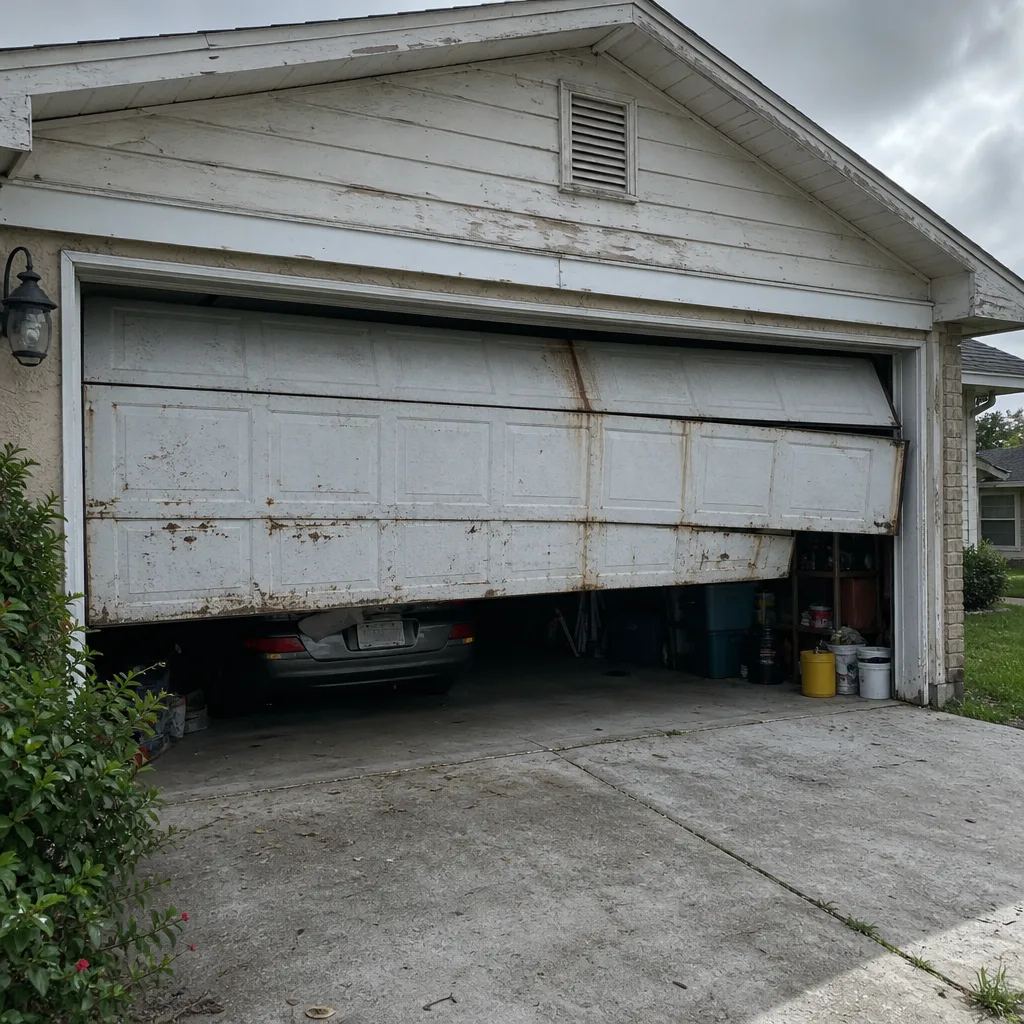 Before
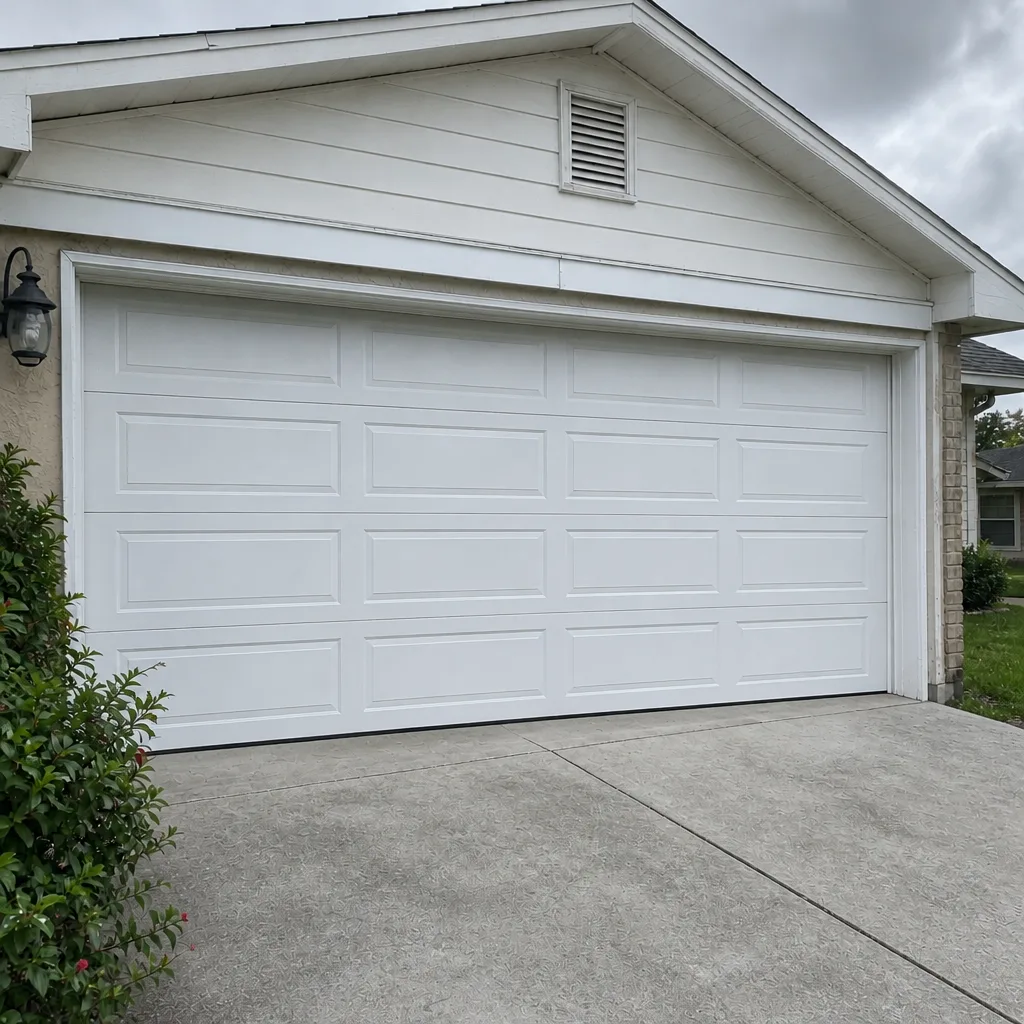 After
 Before
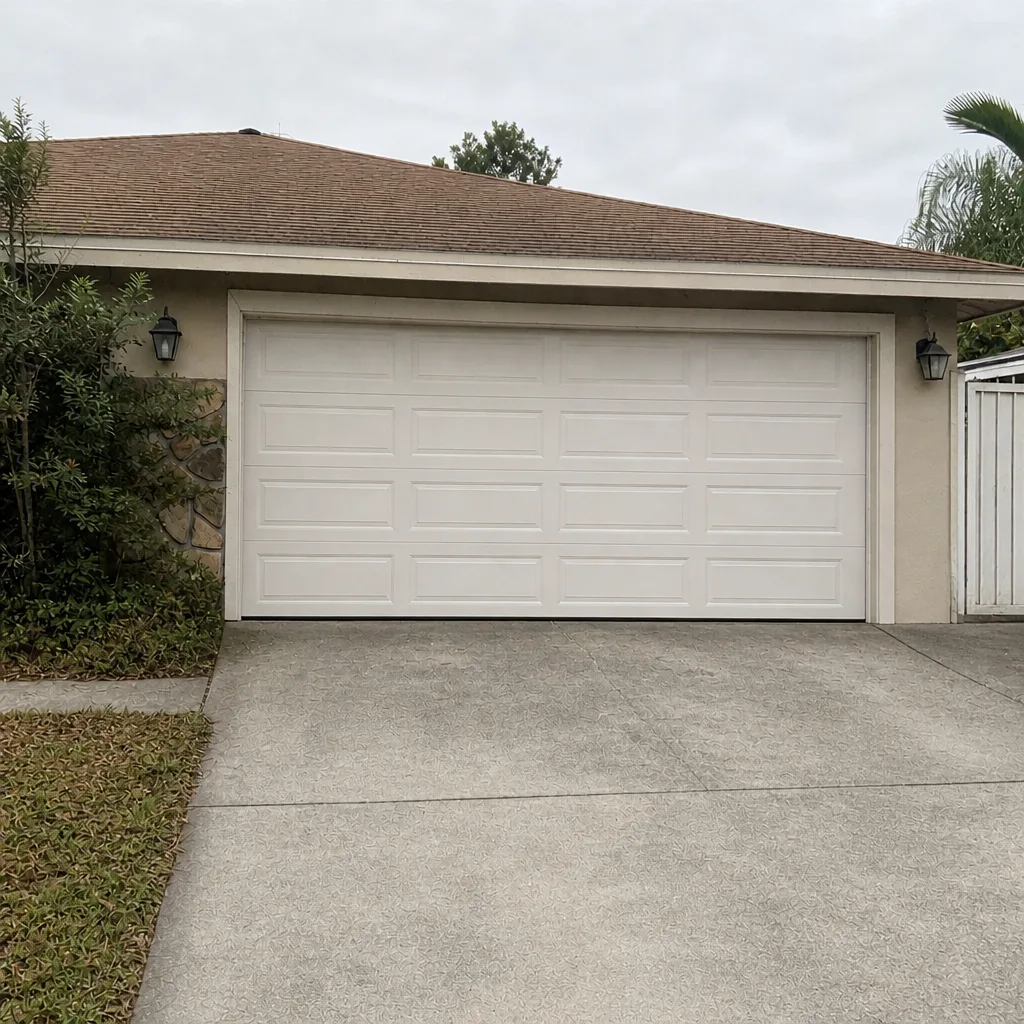 After
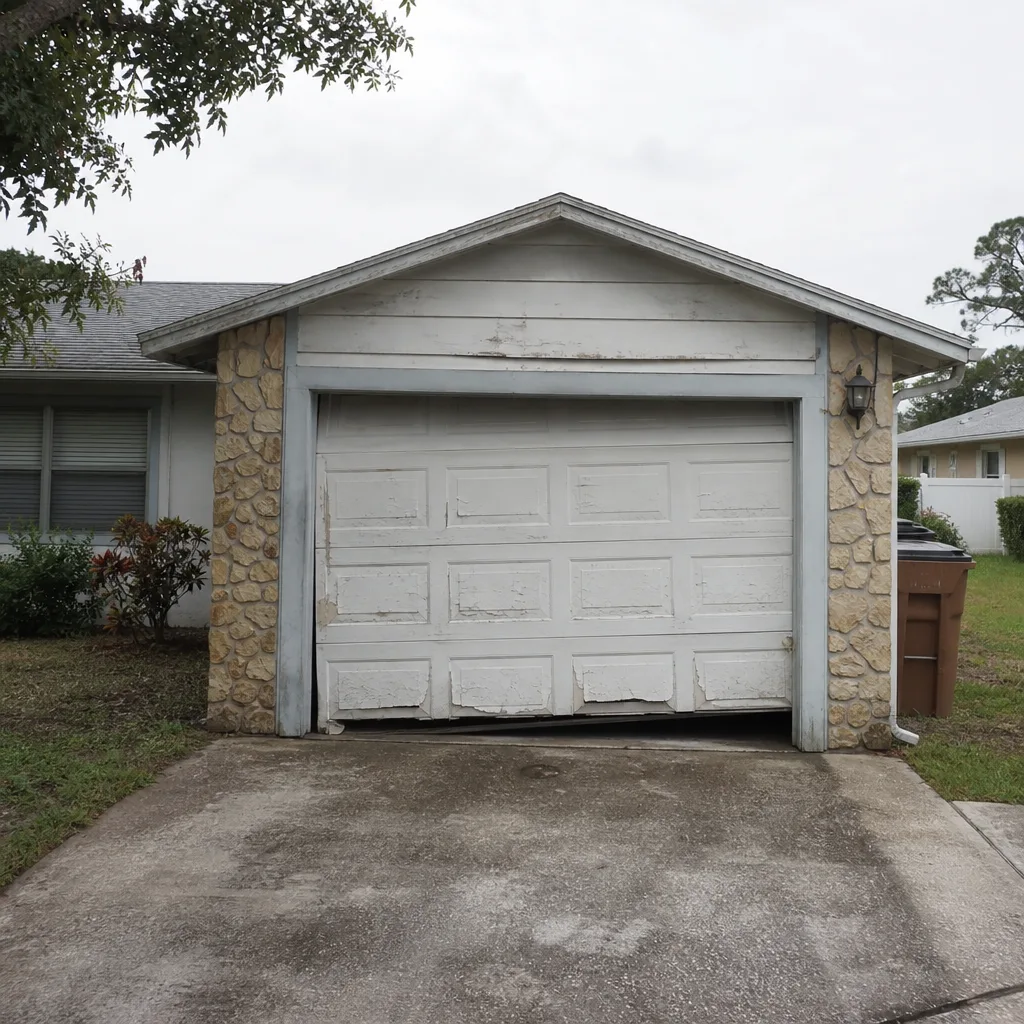 Before
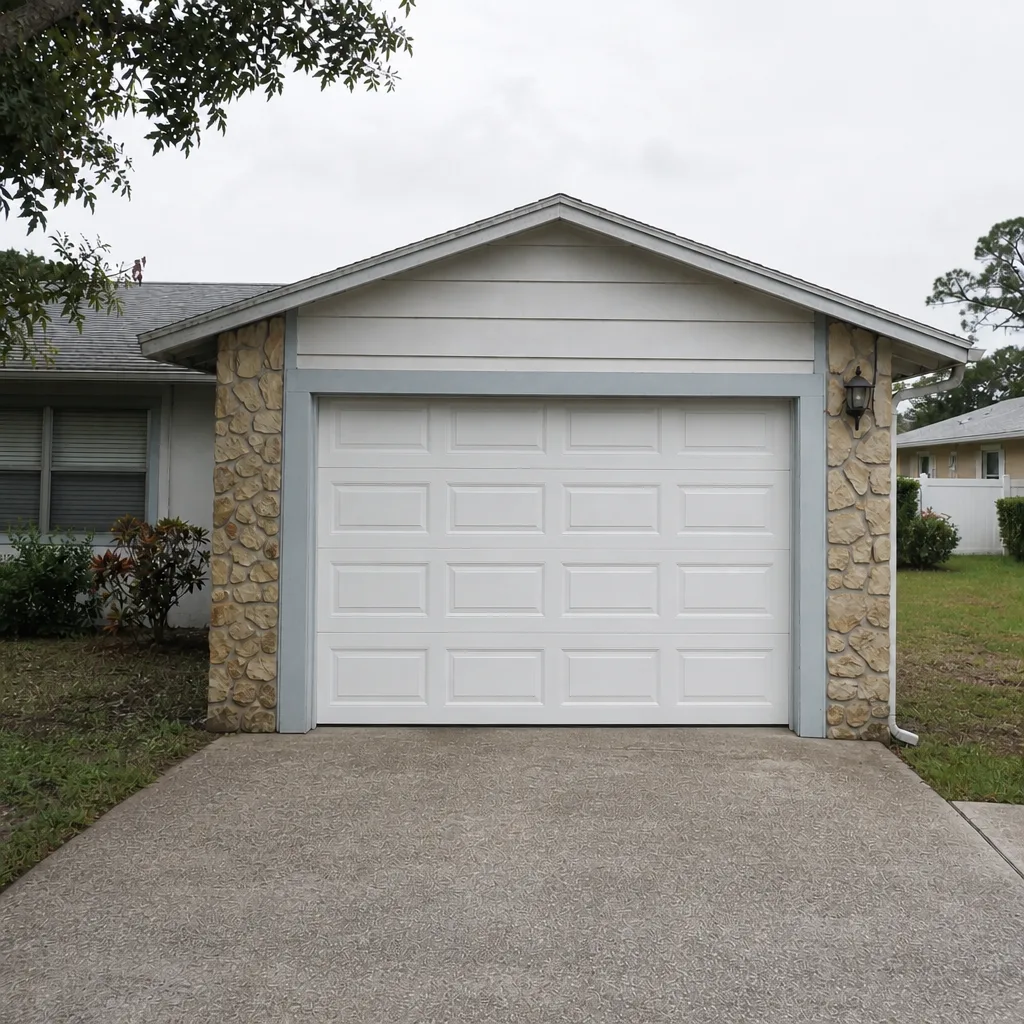 After
When to Call a Professional
Most of this checklist is doable by a careful homeowner. These are the situations that need a trained technician: any visible pitting, gap, or thinning on a torsion or extension spring; any door that sits out of level when closed or that drops on its own; a snapped cable, a loosened bottom bracket, or a door off its track; an opener that fails the safety-reverse test after sensors are cleaned and aligned; a bottom seal that fails the paper test across most of the door; and any loud bang from above the door during operation. For repairs at that level, garage door repair in Daytona Beach is what brings you back to a working door fast, and the price is agreed in writing before any work begins.
Daytona Beach Garage Door Repair Co offers free estimates in Daytona Beach. Call (888) 848-8460. We answer 24/7, and fast dispatch runs from 7am to 7pm, Sunday through Friday. Our technicians have up to 13 years of experience and work on LiftMaster, Chamberlain, Genie, Clopay, Amarr, Wayne Dalton, Craftsman, and Raynor equipment. We do one trade, and we do it right.
Frequently Asked Questions
Quarterly, not twice a year. Daytona Beach’s humidity and salt-laden air accelerate oxidation on springs, hinges, and rollers, so a garage-door-rated lubricant should go on every three months and the full inspection should run every six. A general-purpose penetrant like WD-40 doesn’t count as lubrication here, and repeated use can actually speed corrosion. Call (888) 848-8460 for a free estimate if your door hasn’t been serviced in a while.
It looks for rust pitting versus harmless surface oxidation. Surface oxidation is a light rust blush that wipes off a rag. Pitting looks like small dark pockmarks or divots in the metal, often with a powdery red-brown edge. Pitting removes steel thickness and cuts the spring’s fatigue life. A visible gap, or a door that sits out of level, means the spring is done. Our technicians have up to 13 years of experience with this exact inspection. Call (888) 848-8460 to schedule.
No. Torsion springs and cables are under enough stored energy to cause serious injury without the right tools and training. Even professional technicians use wound spring bars and specific procedures that take skill to use safely. This is one of the parts where calling a professional isn’t optional. If a spring is cracked, pitted, or broken, garage door spring repair is the safe path and estimates are free.
Sluggish operation is usually spring tension, worn rollers, or a limit switch that’s off a notch. The safety-reverse (photo-eye) system is separate from those symptoms. Test the door balance by disconnecting the opener, opening the door halfway, and letting go. A door that drifts down has lost spring tension. Rollers making noise or grinding usually need replacement. If neither test explains it, garage door opener repair is what diagnoses the opener side. Call (888) 848-8460 for a free estimate.
Slide a sheet of paper under the closed door at several points across its width. The paper should be pinched when you pull it; if it slides out easily, that section of seal isn’t compressing. Combine that with a flashlight check for daylight at the seal’s contact line, and a visual walk of the seal looking for cracks and flat spots. If it fails at more than a couple of points, the seal needs replacement before storm season. Call (888) 848-8460 for an assessment.
Yes, we work on all four, along with LiftMaster, Chamberlain, Craftsman, and Raynor. That covers the vast majority of doors and openers Daytona Beach homeowners actually own. When a brand-specific part is needed, we can usually find it quickly because we work on those systems every week. Estimates are free and the price is agreed in writing before any work starts. Call (888) 848-8460.
The Bottom Line
Garage door maintenance in Daytona Beach isn’t the same checklist you’d use somewhere with dry air and gentle seasons. Quarterly lubrication with a garage-door-rated product, spring inspection for rust pitting (not the harmless surface haze), a bottom seal paper test for storm-water intrusion, and a safety-reverse test you can run yourself all matter more here than the standard twice-a-year schedule. The parts you should never adjust yourself are springs, cables, and the bottom bracket; those stay with a trained technician. Keep a paper or digital log of every inspection and repair so you have documented service history if you ever sell the house. Our technicians work on eight brands, they do springs and openers as named services, and the price is agreed in writing before any work begins. Daytona Beach Garage Door Repair Co connects Daytona Beach homeowners with the specialists who do the work. Call (888) 848-8460 for a free estimate. We answer 24/7, and fast dispatch from 7am to 7pm runs Sunday through Friday.
Written by the team at Daytona Beach Garage Door Repair Co.